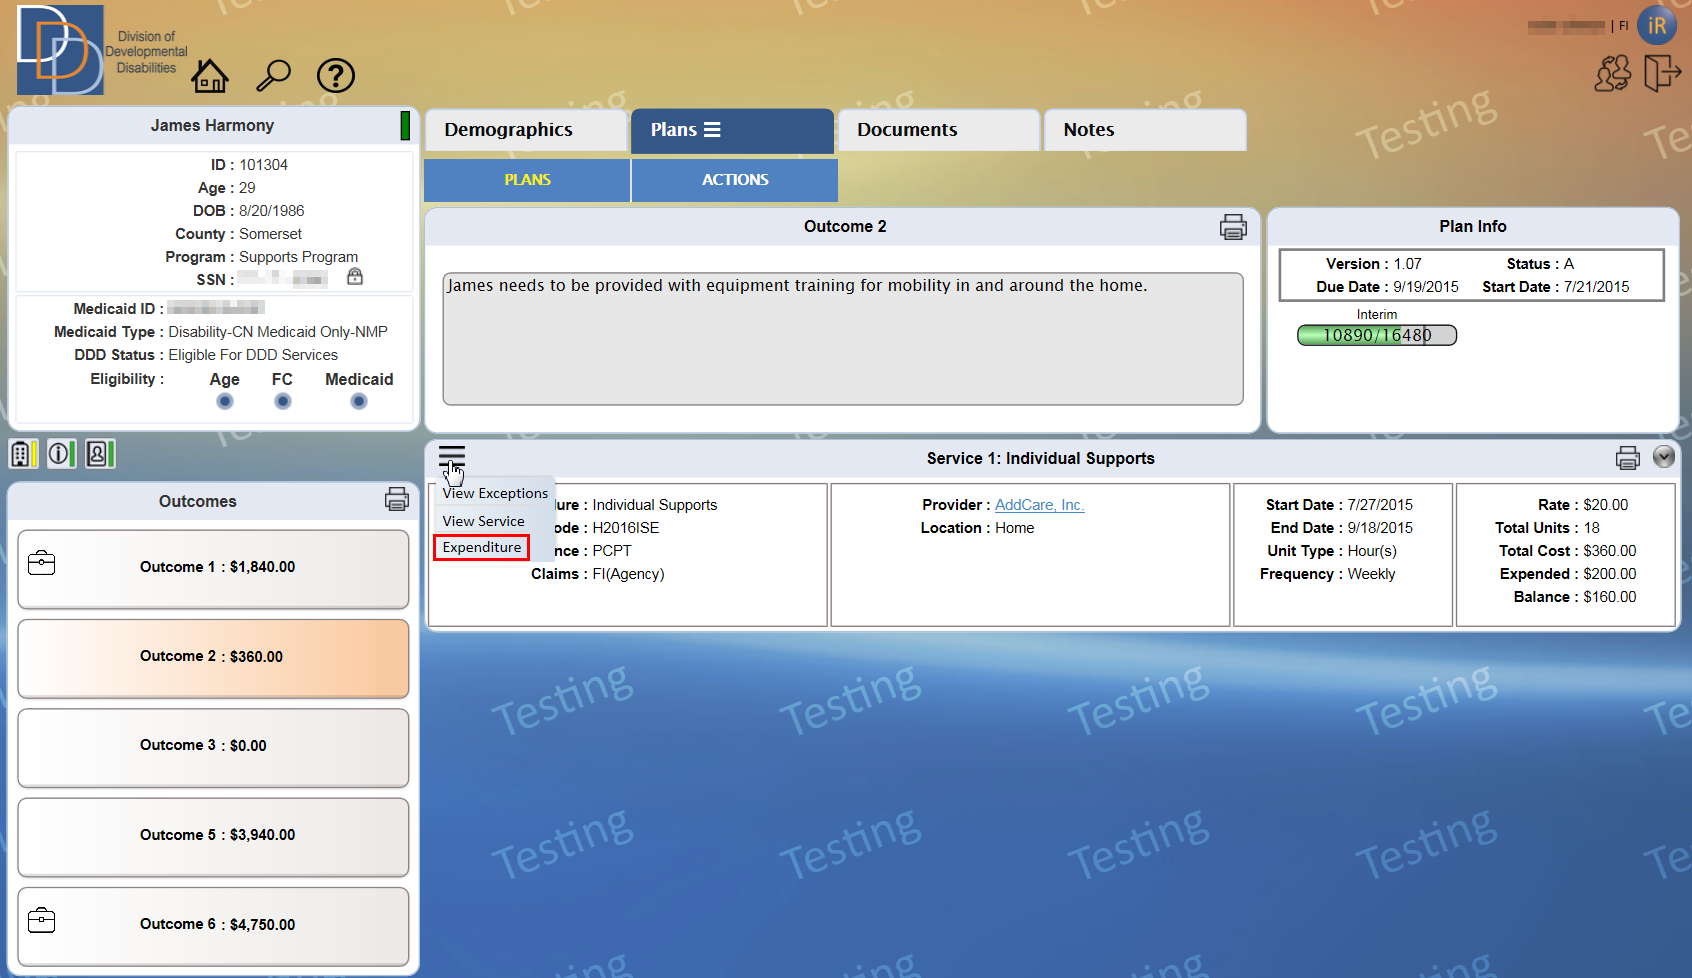
Expenditure feature provides the FI or SFI to post the expenditure for a service. The option to post expenditure depends on the status of the plan and the payment source of the service. Expenditure is available for an approved plan (most recent macro plan and any of its approved revisions) and a service where the payment source is the Fiscal Intermediary.
Refer to User Permissions to view the available permissions for your user role.
The Expenditure pop-up tile is available from the menu options of the appropriate service on an approved plan, shown in the following figure.
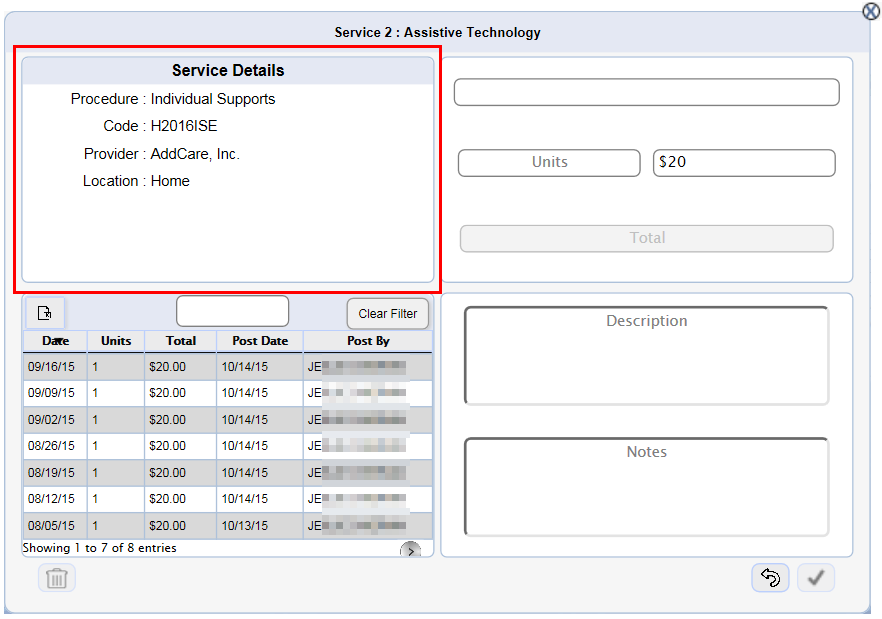
The tile is divided into 3 sections.

● The Service Details is self-explanatory and lists the basic information of the service, as shown in the following figure. For a service provided by an SDE (Self-Directed Employee), this section also displays the name of the provider.
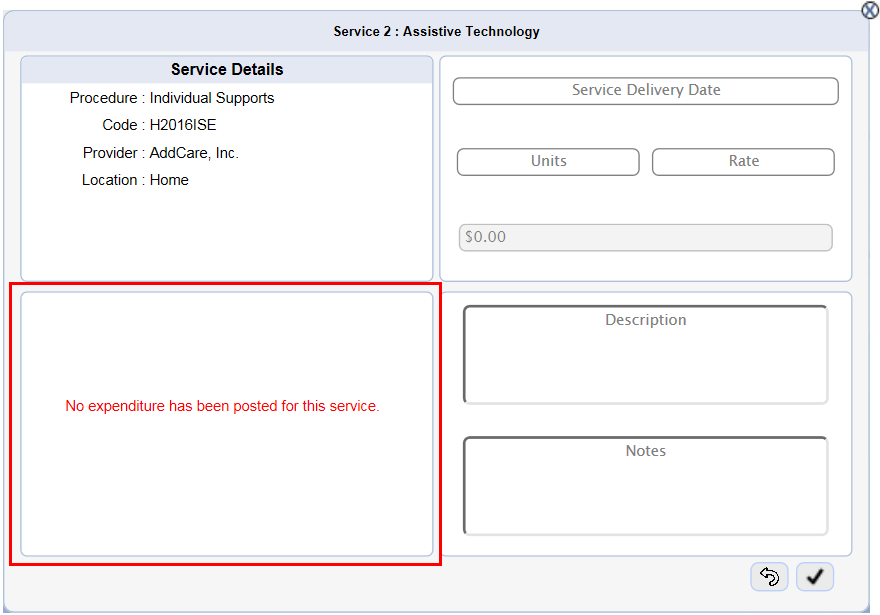
● View the message, shown in the following figure, for a service that does not have any posted expenditure.
● For a service with posted expenditure details, view the grid as shown in the following figure.
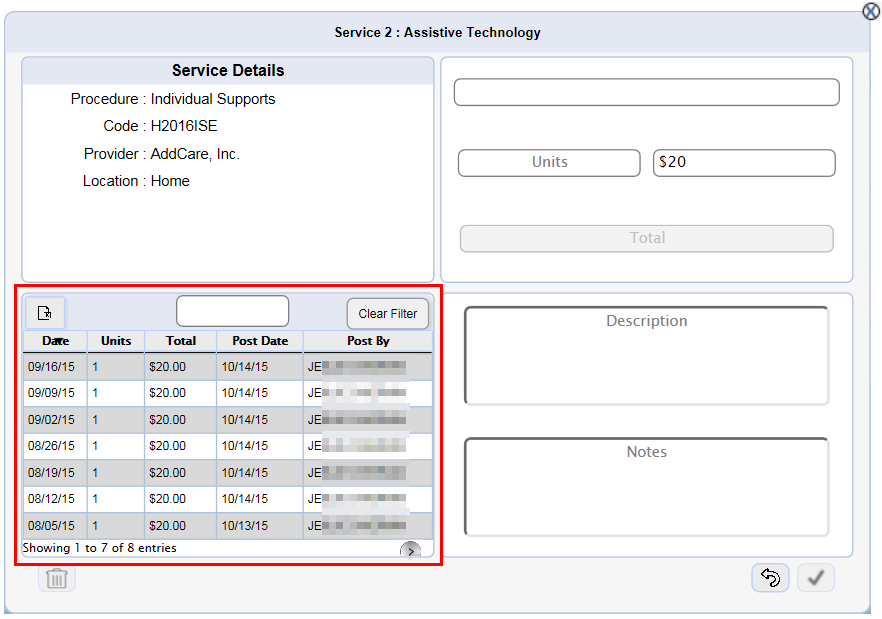
● By default,
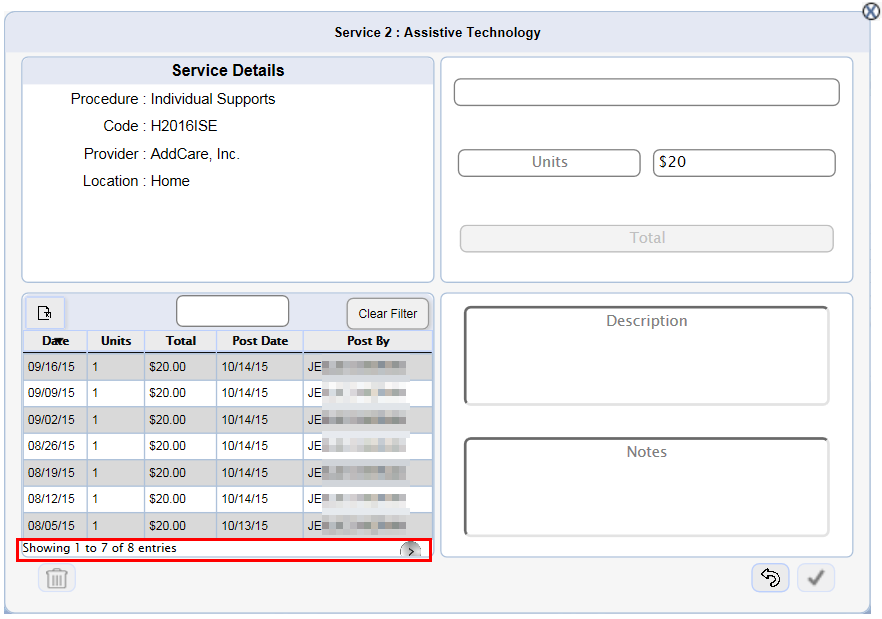
the grid displays a maximum of 7 rows. At the bottom of the grid, view
the total number of entries. Click  to view the next
7 entries. Click
  to view the previous
7 entries (when applicable).
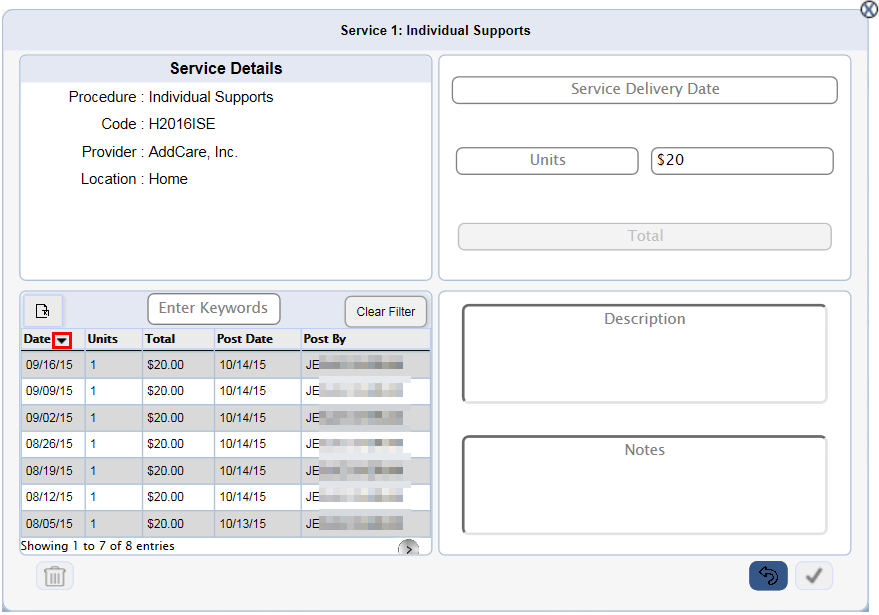
● Sort the
grid from any column in ascending or descending order. By default, the
grid is sorted in the descending order of Date.
View ![]() or
or ![]() adjacent to the column header that sorts the grid (the grid is sorted
according to the column that displays the icon).
adjacent to the column header that sorts the grid (the grid is sorted
according to the column that displays the icon). ![]() represents a descending order sort and
represents a descending order sort and ![]() denotes an ascending
order sort.
denotes an ascending
order sort.
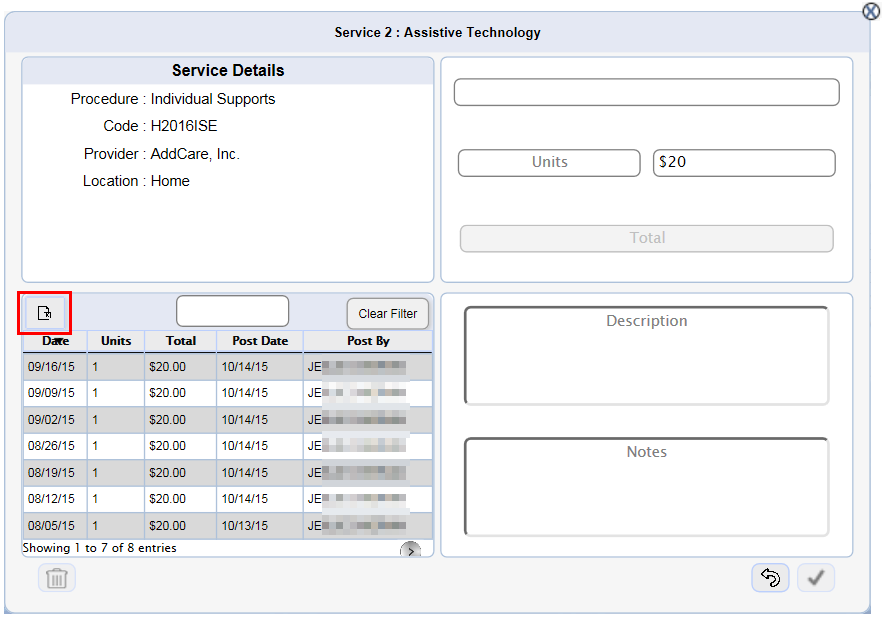
● Export
the grid details to an Excel file using the  icon.
Click
  and iRecord opens the
Save As dialog box on your device.
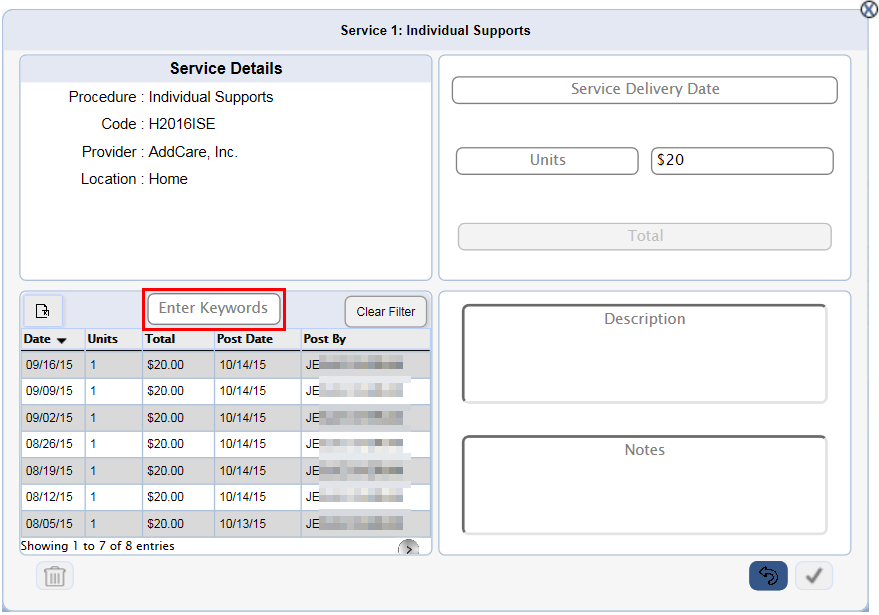
● Filter the grid using the text box. The grid displays the line items containing the characters entered within the box. Click the Clear Filter Button to clear the text box and the filter.
● To view the expenditure details, select a line item on the grid and it is available in the section shown in the following figure.
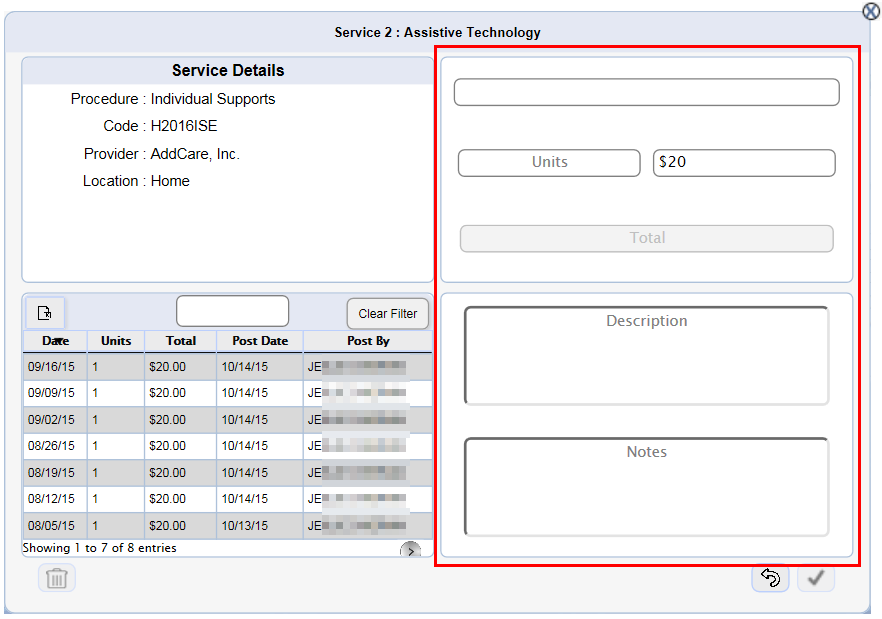
● Click
![]() to remove the selection and/or clear the expenditure
details within the section.
to remove the selection and/or clear the expenditure
details within the section.
● Post the expenditure details (by the appropriate role) within this section.
Post expenditure is permitted for FI and SFI user roles of the most recently approved macro plan and any of its approved revisions. You can only post expenditure for services where the payment source is the Fiscal Intermediary.
The instructions below discuss procedure to post expenditure for a service.
1. Click
 for an appropriate service and view the menu options, shown in the following
figure.

2. Click Expenditure and view the expenditure pop-up tile, as shown in the following figure.
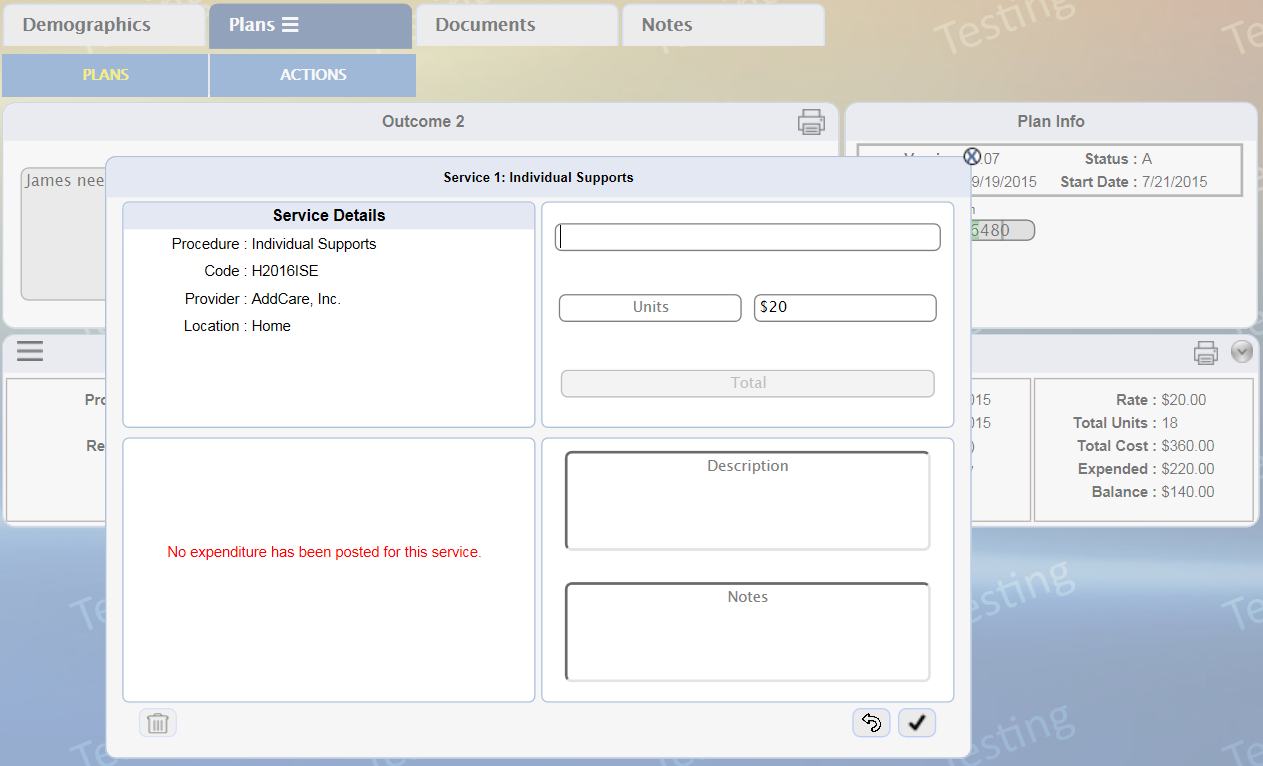
3. Enter the details within the fields. For more information, refer to the following table.
Field |
Description |
Service Delivery Date |
Select the date that the service was delivered to the participant.
Select the month and year from the drop-down lists on the top section. Click and select the date.
Mandatory/Optional: Mandatory Date format: MM/DD/YY |
Units |
Enter the number of approved units permitted for the period between start date and current week. The user has the option to enter the units cumulatively, but the total number of units posted must not exceed the approved units. For a day service, this field displays 1 and the user must post expenditure for each service delivery date.
Mandatory/Optional: Mandatory |
Rate |
The unit rate of service is either defined or does not exceed a maximum value. For a service with a defined rate, the field displays the appropriate value and it is disabled. For a service with a maximum value, enter a unit rate below maximum value.
Mandatory/Optional: Mandatory |
Time In |
This field appears when the service is provided by an SDE. Select the time that the service started on the selected date.
Mandatory/Optional: Optional |
Time Out |
This field appears when the service is provided by an SDE. Select the time that the service ended on the selected date.
Mandatory/Optional: Optional |
Parking |
This field appears for the Transportation service. Enter the amount paid for parking.
Mandatory/Optional: Optional |
Tolls |
This field appears for the Transportation service. Enter the amount paid for tolls.
Mandatory/Optional: Optional |
Public Trans |
This field appears for the Transportation service. Enter the amount paid for public transportation.
Mandatory/Optional: Optional |
Total |
View the total amount for the service delivered on the selected date. Total = Units * Rate + Parking + Tolls + Public Trans |
Description |
Enter the description of service delivery on the selected date.
Mandatory/Optional: Optional Max limit: 500 characters |
Notes |
Enter any relevant notes related to service delivery on the selected date.
Mandatory/Optional: Optional Max limit: 500 |
4. Click
 , shown in the following
figure, to save and post the expenditure.
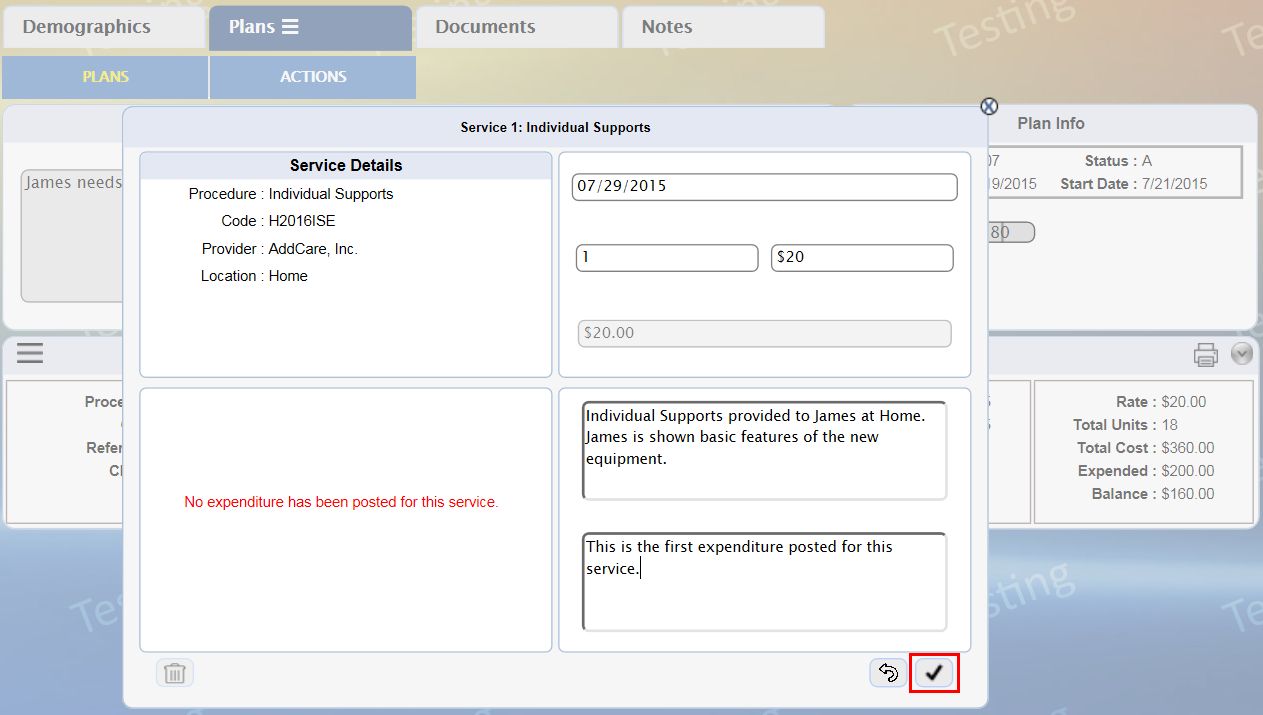
5. View the posted expenditure on the grid.
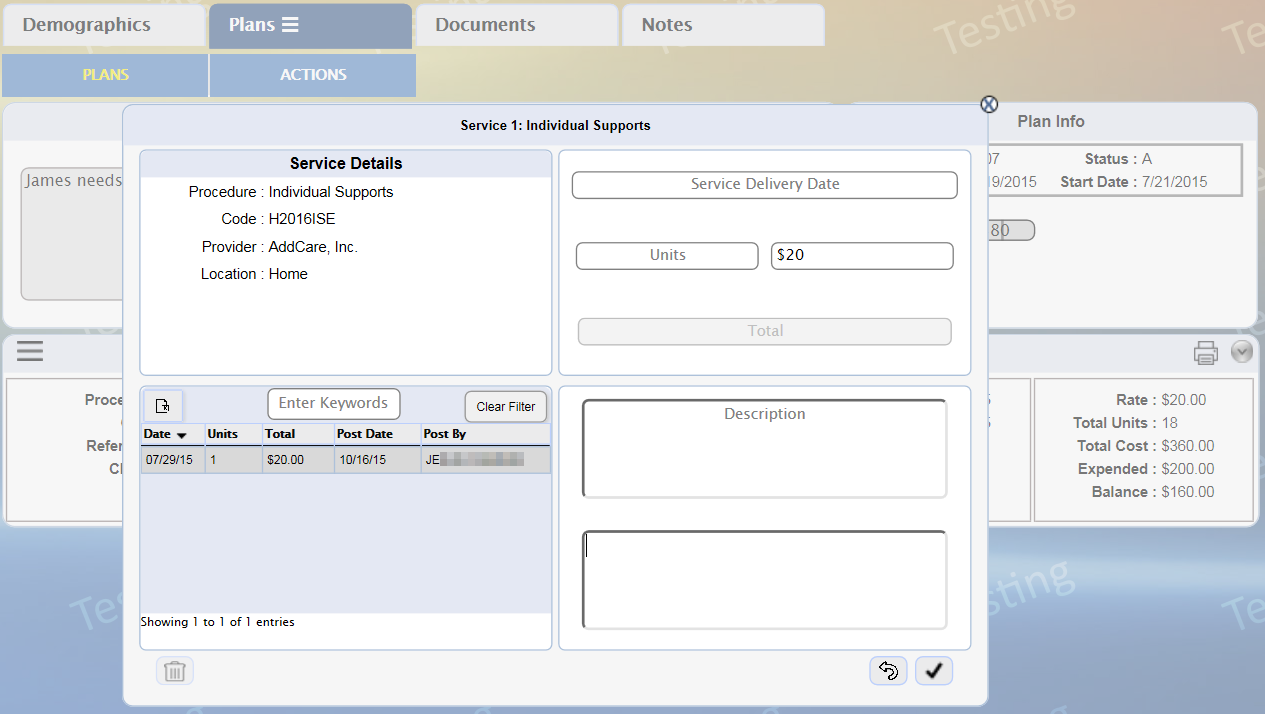
Note: Select the line item on the grid and edit the fields to modify the expenditure detail. The Notes field is mandatory during edit of an expenditure detail.
All user roles are allowed to view the expenditures of an approved service. Many of the features of the grid are mentioned in the Expenditure Grid.
The following instructions discuss the procedure to view an expenditure entry.
1. Click
 for an appropriate service and view the menu options, shown in the following
figure.

2. Click Expenditure and view the expenditure details of the service, as shown in the following figure.
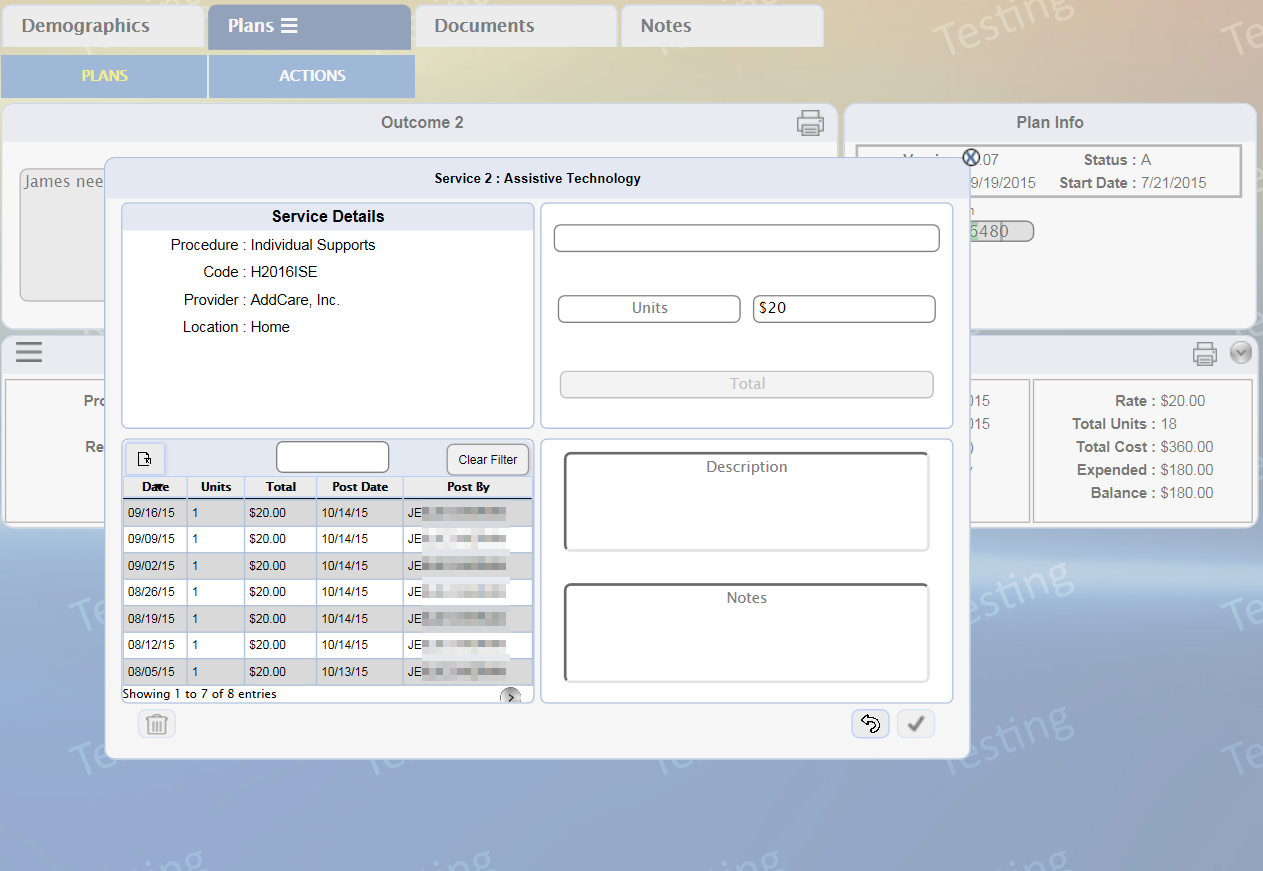
3. Locate and click the appropriate entry to view the details.
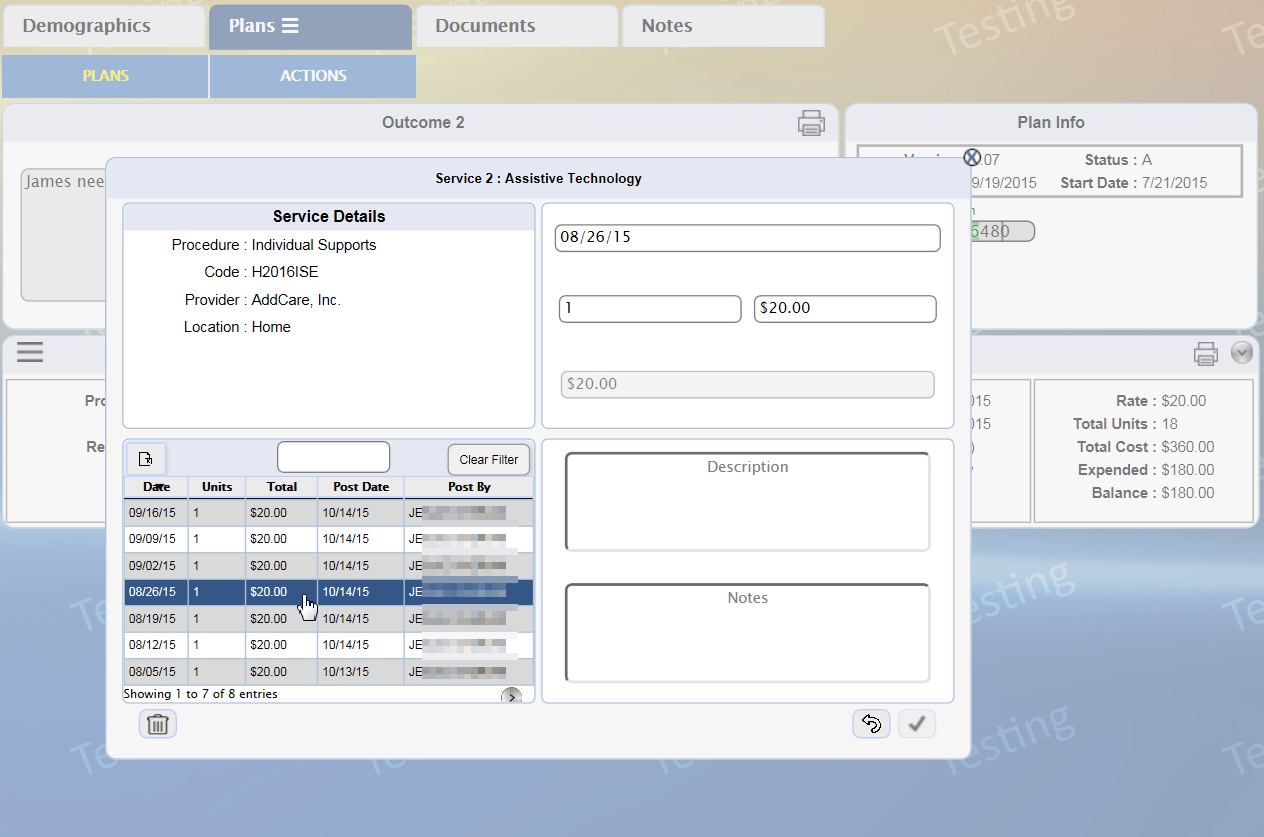
Note: The Notes field appears blank when you are viewing an expenditure entry. Go to Notes and search for the notes, if any, associated with this entry.
The SFI user role has the permission to delete an expenditure entry.
The following instructions discuss the procedure for deletion.
1. Click
 for an appropriate service and view the menu options, shown in the following
figure.
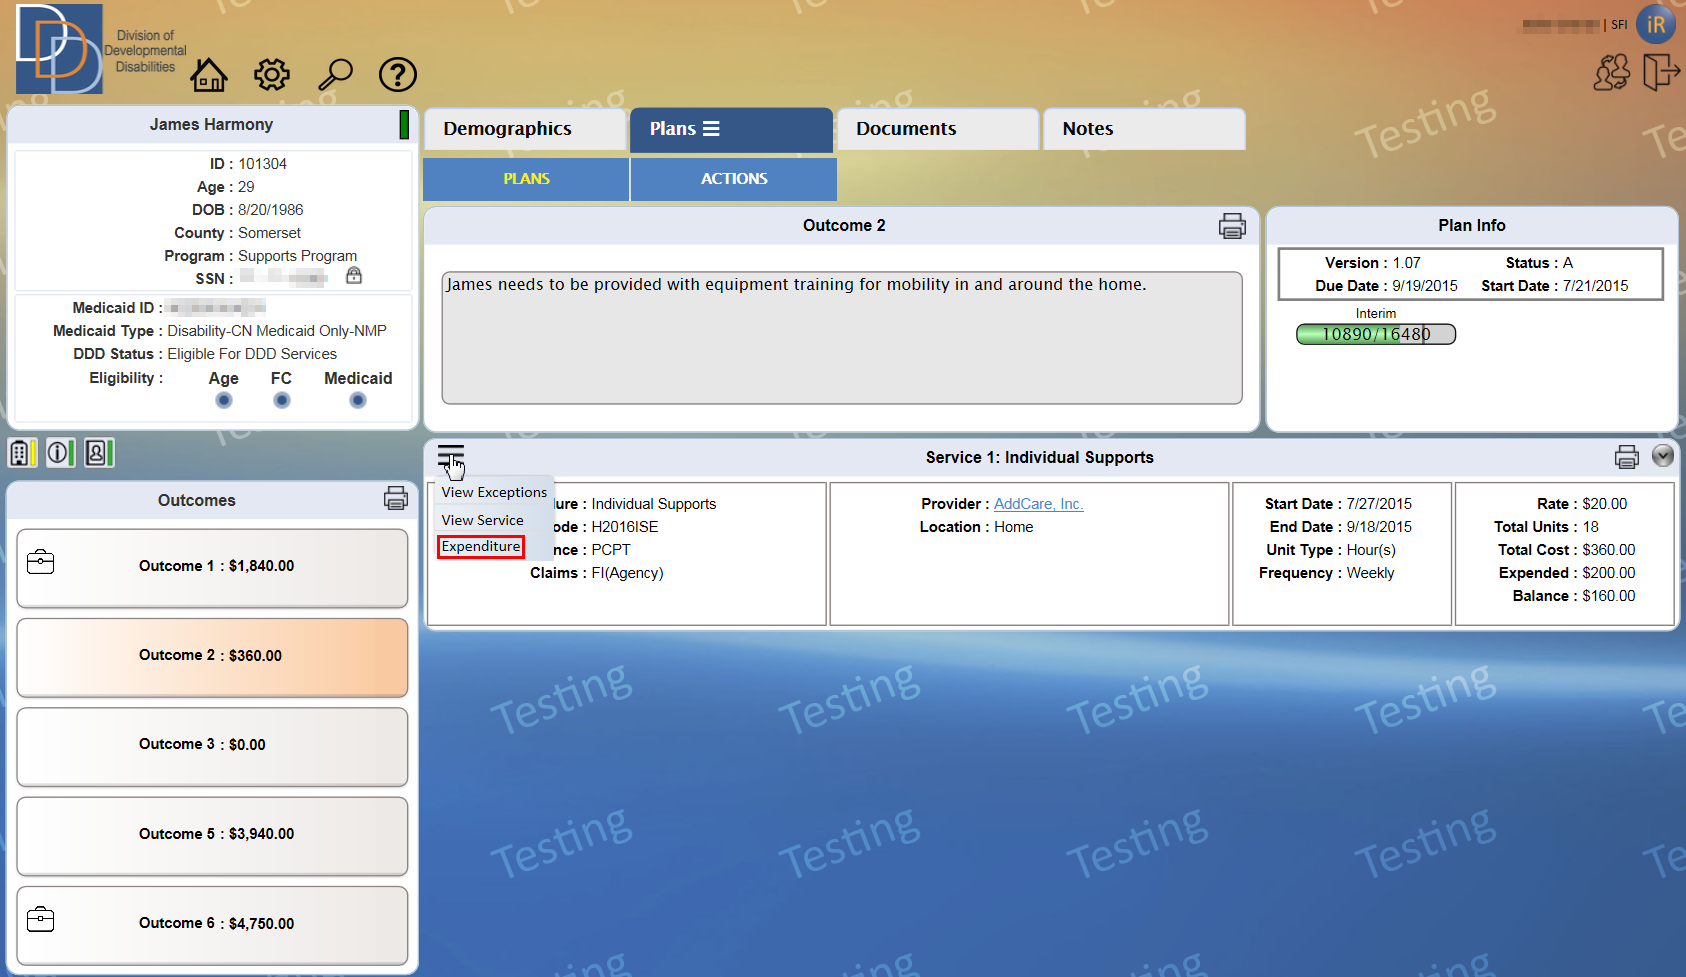
2. Click Expenditure and view the expenditure details of the service, as shown in the following figure.

3. Locate and click the appropriate entry for deletion.

4. Click
 (available only for the SFI) to delete the expenditure entry, highlighted
in the following figure. The entry is now removed from the grid.
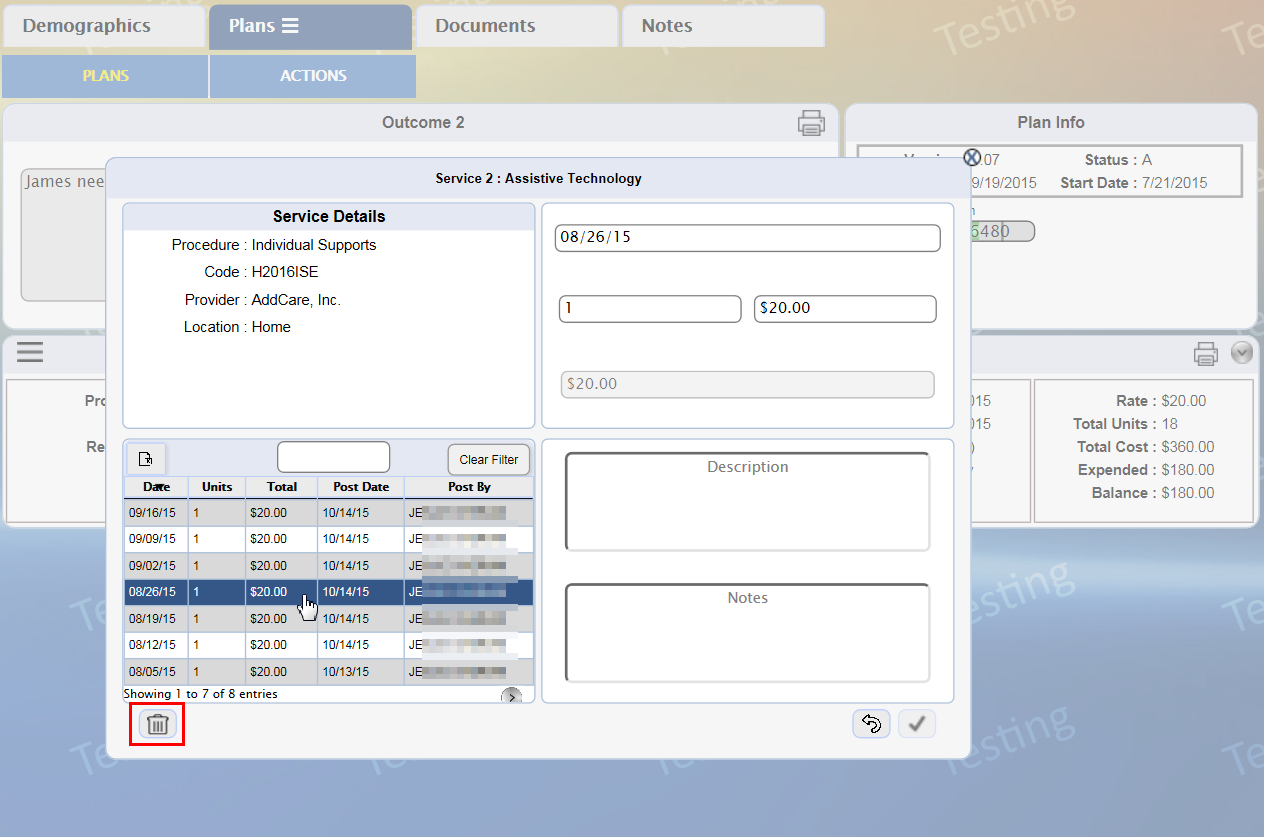
5. A confirmation
message appears, as shown below. Click  to confirm deletion.
